




What Causes Burrs, Dross, and Burn Marks? A Practical Guide to Laser Cutting Defects
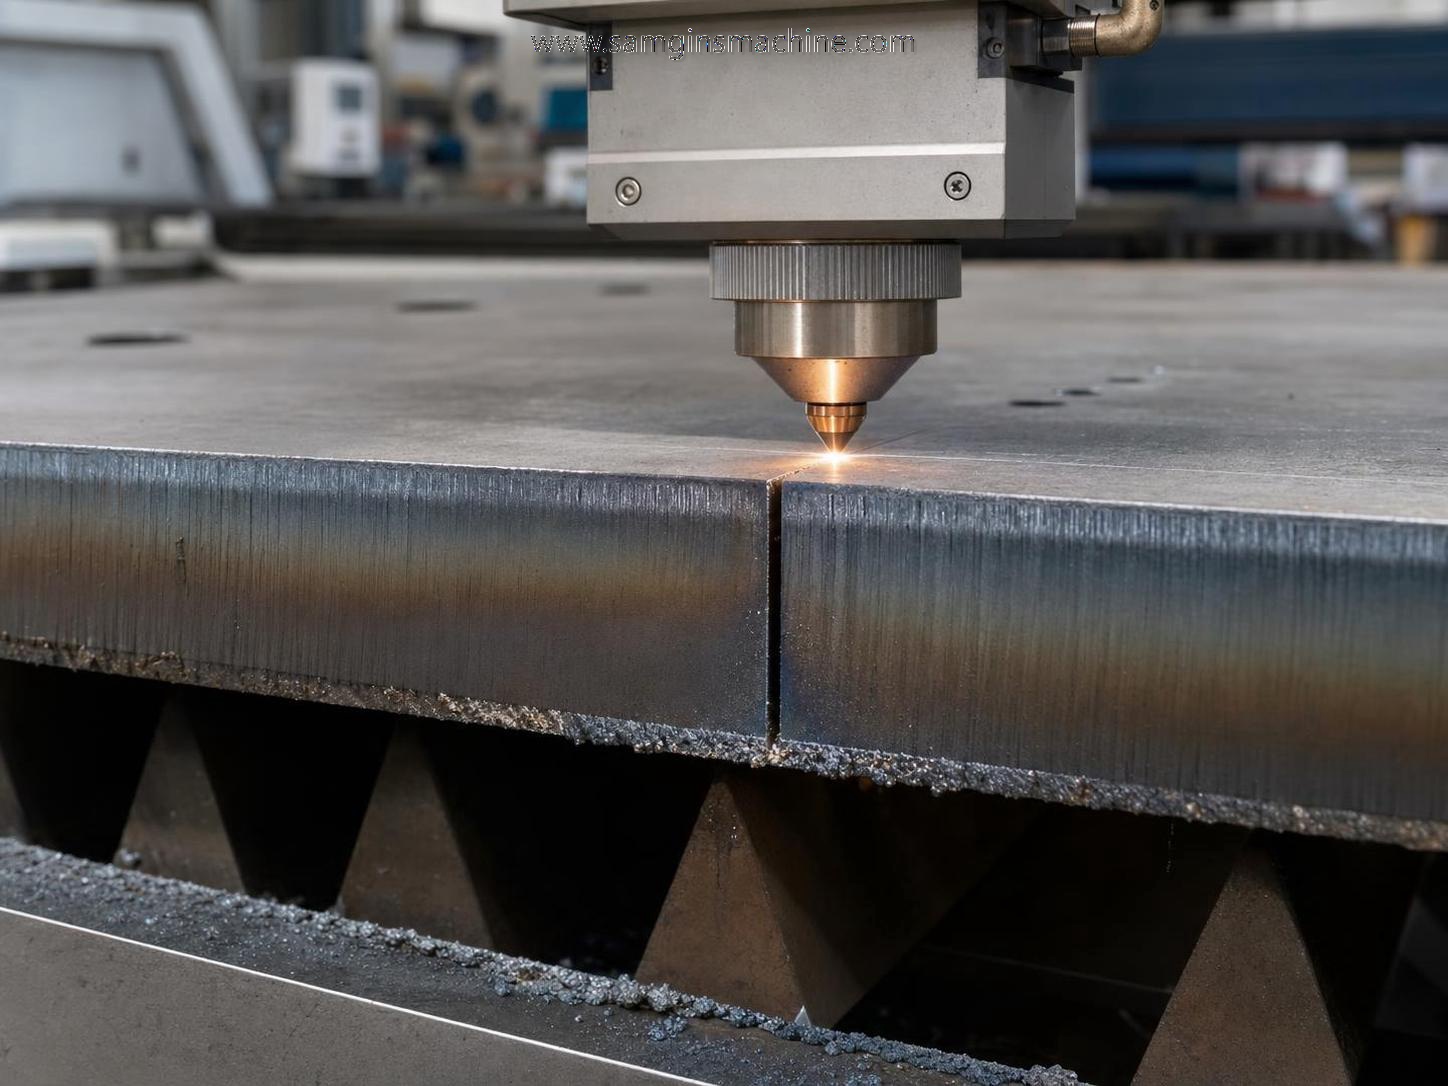
What Burrs, Dross, and Burn Marks Really Tell You About a Laser Cutting Process
Burrs, dross, and burn marks are often treated as simple edge-quality problems, but in production they are better understood as process signals. They tell you that heat input, gas flow, focus position, feed rate, material condition, or machine stability have drifted out of a workable window. That matters because laser cutting defects rarely stay cosmetic for long. A rough edge can interfere with fit-up, a heavy dross bead can create handling hazards, and a darkened cut face can complicate welding, coating, or inspection.
For quality control teams, the main mistake is to inspect the symptom and stop there. For safety managers, the common mistake is to focus only on fume extraction or guarding while missing how unstable cutting conditions create more manual rework, more edge handling, and more opportunities for injury. A part that leaves the cutting table with adherent slag or sharp burrs has already increased risk downstream, especially where deburring, sorting, bending, or welding is still done with direct operator contact.
The three defects are related, but they are not interchangeable. Burrs usually appear as thin, sharp projections at the cut edge. Dross is resolidified molten material attached to the lower edge, often heavier and more tenacious than a simple burr. Burn marks are discoloration, overheating traces, or localized thermal damage near the cut zone. In practice, one bad setup can produce all three at once, which is why arguing over terminology does not fix the root cause.
Why Burrs Form Even When the Laser Is Powerful Enough
People sometimes assume burrs come from insufficient power alone. That is too narrow. A laser can have enough nominal power and still leave a burr because the molten material is not being expelled cleanly from the kerf. Assist gas pressure may be too low, nozzle alignment may be slightly off, focus may sit too high or too low relative to sheet thickness, or cutting speed may be mismatched to the material and edge geometry.
On thin carbon steel, a fine burr often points to a parameter mismatch that has narrowed the process margin rather than collapsed it completely. On thicker plate, especially where the cut path includes corners or small internal features, burrs can also reflect poor melt evacuation. The lower edge cools quickly, and any molten material that is not fully blown out starts to solidify before separation is complete. Once that happens, the edge no longer fails neatly. It tears slightly, and the burr becomes part of the cut signature.
Material condition matters more than many shops admit. Surface rust, mill scale variation, oil contamination, protective film residue, and inconsistent flatness can all disrupt the cut. If plate sits unevenly, standoff changes across the sheet. Even a stable machine then behaves like an unstable one. Quality teams see the result at inspection, but the process deviation started before the beam touched the workpiece.
Dross Is Usually a Sign of Incomplete Ejection, Not Just Excess Heat
Dross tends to be blamed on “too much heat,” but that explanation is incomplete. In many cases, dross forms because molten metal remains in the kerf too long and then solidifies at the bottom edge. Excessive heat can contribute, especially if feed rate is too slow, but weak gas dynamics are often just as important. If the assist gas stream is turbulent, partially blocked, contaminated, or poorly centered, it loses its ability to clear the melt effectively.
This is where nozzle condition becomes more than a maintenance detail. A damaged nozzle or one with spatter buildup changes gas flow behavior enough to create repeatable edge defects. Shops sometimes respond by increasing gas pressure or slowing the cut, which may hide the issue for a short time while adding cost and thermal load. The better question is whether the process has lost directional control of the molten material.
There is also a useful distinction between light dross and hard dross. Light dross may be removed with minimal secondary work and often signals a process that is close to acceptable. Hard dross, which bonds strongly to the bottom edge, usually indicates a more serious mismatch involving speed, focus, power density, or gas selection. That distinction matters in quality decisions because not every attached residue has the same cause or the same downstream effect.
Burn Marks Are About Thermal Control, Oxidation, and Path Strategy
Burn marks are often read as proof that the material has been “overburned,” but the source can be more specific. If the cut edge or adjacent surface shows dark oxidation, one likely cause is the assist gas choice and the way oxygen interacts with the material. If the burn appears at pierce points, corners, or lead-in zones, the problem may be dwell time, acceleration behavior, or poor path planning. If discoloration spreads irregularly, contamination on the sheet surface may be amplifying local heating.
This is one reason two parts cut from the same sheet can look different. Straight sections may appear clean while small slots, tight radii, and dense nests show scorching or heat tint. The machine is not operating in one constant condition; it is constantly transitioning through acceleration, deceleration, piercing, and directional change. Burn marks often appear in those transitions, which is why they can persist even after basic power and speed settings look acceptable on a simple test coupon.
For safety and compliance, burn marks deserve more attention than they usually get. Discoloration itself is not always a structural defect, but it can indicate altered surface condition, residual contamination, or extra oxide formation that affects later welding and coating operations. It also increases the chance that operators will need to grind or rework edges manually, which shifts the burden from process control to labor exposure.
What to Check Before Blaming the Machine
When shops see recurring laser cutting defects, they often jump straight to hardware failure. Sometimes that is justified, but not as often as people think. A disciplined check usually starts with five variables: material, program, optics, assist gas, and motion stability.
That checklist is also useful when defects appear only on certain jobs. If the problem is tied to specific geometry or material batches, the process window may be too narrow for production variation. If defects show up randomly across all jobs, maintenance, gas quality, or height sensing becomes more likely.
The Downstream Cost Is Often Higher Than the Cutting Cost
QC and safety personnel usually see the hidden cost more clearly than production scheduling does. A part with bottom dross may still be dimensionally usable, but if it needs hand grinding before welding or bending, the actual process cost changes. Sharp burrs increase glove damage and hand injury risk. Burned edges may require extra surface preparation. Rework also introduces variability because manual cleanup is rarely as consistent as a controlled primary process.
This becomes even more relevant when laser-cut parts feed directly into forming operations. If a plate is rolled after cutting, edge consistency affects fit, seam preparation, and part appearance. In heavy plate fabrication, where components may move from cutting to rolling and assembly, process discipline upstream reduces compounded error later. Equipment such as a Mechanized bending machine with 3 roller is typically used for metal fabrication work on thicker plates, including cylindrical or conical parts, and that kind of downstream forming benefits from cut edges that are clean and predictable rather than patched by manual deburring.
For thicker steel, especially plate thicknesses of 50 mm or more, the handoff between cutting quality and forming quality gets tighter. A heavy plate process chain has less tolerance for edge defects that were considered minor on the cutting table. Once rolling accuracy, pre-bending, and assembly alignment are involved, surface and edge condition become practical production issues rather than cosmetic ones.
Common Misreadings in Inspection
One recurring mistake is to judge all defects by appearance alone. A dark edge is not always the most serious problem, and a part with only a slight burr may still create assembly trouble if that burr sits on a locating face. Another mistake is to inspect only the top edge. Many laser cutting defects show their real character on the bottom edge or in the cut wall texture, which means the part has to be handled and viewed from more than one angle.
It is also worth separating acceptance criteria from troubleshooting logic. An edge can fail visual acceptance without revealing the exact root cause. Conversely, two defects that look similar may come from different process failures. Quality systems work better when operators record not just “burr present” or “burn mark present,” but also where the defect occurs, whether it is job-specific, and whether it correlates with thickness, material source, or geometry.
A Practical Way to Reduce Recurrence
The most reliable improvement path is not a single parameter adjustment. It is a tighter link between maintenance, programming, material control, and inspection feedback. Shops that reduce recurring edge defects usually do three things well: they keep parameter libraries tied to actual material conditions, they monitor consumables and gas quality before failure becomes visible, and they treat recurring rework as process evidence rather than operator inconvenience.
Wuxi Samgins International Trade Co.,Ltd works across mechanical equipment used in fabrication, cutting, welding, deburring, and forming, and that broader production view matters here. Laser quality is not an isolated topic. It sits inside a manufacturing chain that may include CNC cutting machines, deburring equipment, machine tools, rolling equipment, and welding systems built under ISO9001-managed production and aligned with EU CE requirements where applicable. In that context, burrs, dross, and burn marks are less about cosmetic imperfection and more about whether the process is under control.
When defects keep returning, the useful question is not “How do we clean this edge faster?” It is “Which process condition is teaching us that our margin is too narrow?” That shift in thinking usually leads to better decisions than chasing individual bad parts after the fact.
search
Products Navigation
Send Us A Message