




Automatic Flat Metal Sheet Deburring Machine: How to Reduce Edge Defects
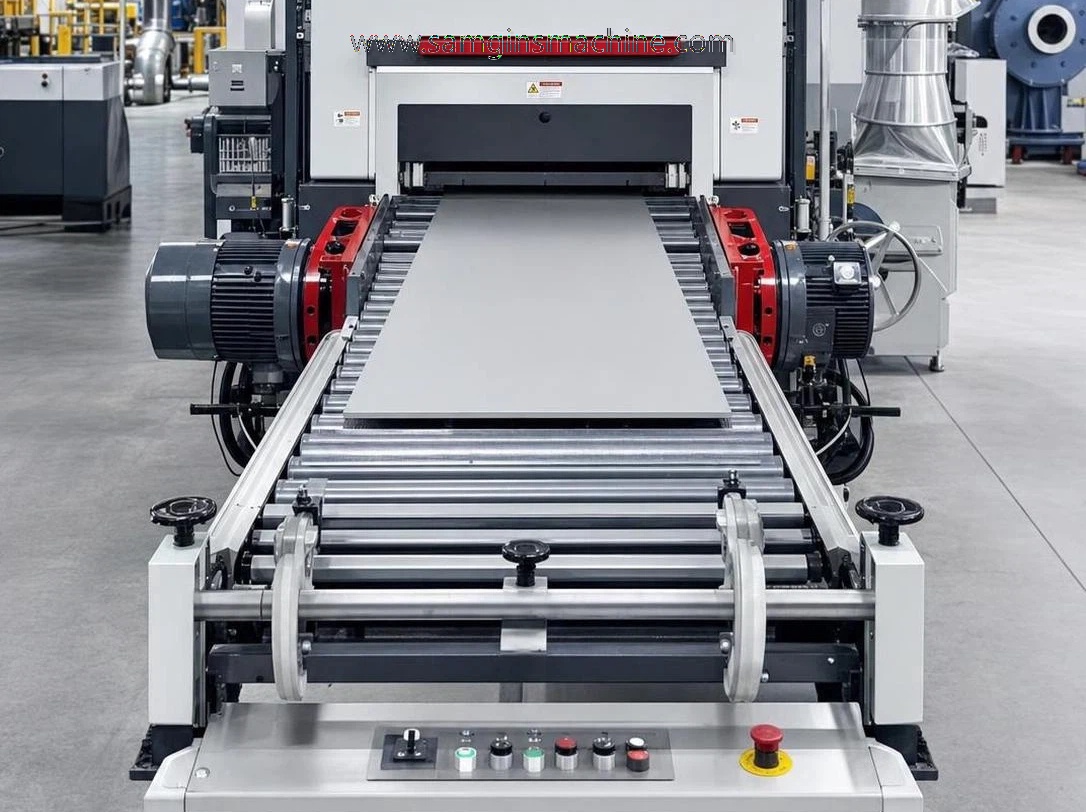
Automatic Flat Metal Sheet Deburring Machine: How to Reduce Edge Defects
For quality control and safety managers, edge defects on cut sheet metal usually show up long before anyone writes a nonconformance report. Operators feel them when handling blanks. Assemblers notice poor fit. Coating teams see premature failure around rough edges. If sharp burrs keep appearing after laser cutting, punching, shearing, or plasma cutting, the issue is rarely just “bad edges.” It is usually a process control problem. An automatic flat metal sheet deburring machine is one of the most practical ways to reduce that variation, but only when the machine, settings, and inspection method match the material and downstream use.
This is the checklist I would use before blaming operators, changing abrasives too often, or accepting rework as normal.
Start with the defect, not the machine brochure
“Edge defect” is too broad to be useful. Separate what you are actually seeing:
- Raised burr on one side only
- Heavy slag or dross attached after thermal cutting
- Rolled edge or deformation on thinner sheets
- Inconsistent edge radius from part to part
- Micro-notches that later trigger coating or fatigue concerns【待核实 based on application】
That distinction matters because not every automatic flat metal sheet deburring machine handles all of these equally well. A light brush machine can break sharp edges on laser-cut stainless nicely, but it may struggle with stubborn thermal dross. On the other hand, a more aggressive setup can remove defects faster yet leave cosmetic marks your customer will reject. Quality teams should define the unacceptable condition in plain inspection language before evaluating equipment.
Check whether the defect was created upstream
A deburring line should not be expected to rescue unstable cutting quality every day. If edge defects vary by shift, by material lot, or by nesting program, review upstream conditions first. Common sources include worn punch tooling, poor laser parameters, nozzle condition, assist gas inconsistency, warped sheet, and excessive heat input.
One practical test: pull samples from the same part number at different times and compare the burr height pattern. If the machine removes edges well in the morning but not in the afternoon, the deburring unit may not be the root cause. You may be feeding it a moving target.
Define what “good edge” means on your floor
This step is often skipped, and then everyone argues later. For QC and safety teams, acceptance should be tied to handling safety, assembly fit, coating readiness, and final use. In many shops, “no sharp edge by glove test” is still used informally, but that is too subjective on its own. Keep it if you want, but pair it with measurable checks such as:
- Consistent edge break around the perimeter
- No attached burr visible under standard inspection lighting
- No interference with bend lines, tabs, slots, or mating surfaces
- No secondary damage such as corner rounding beyond drawing tolerance
If your customers require a particular edge condition for coating, food-contact, or safety-critical assemblies, verify the actual specification before setting the machine window. Do not assume one finish standard applies across all sectors.
Match the machine to the sheet profile you really run
A lot of buying mistakes come from testing one “nice” sample and forgetting the mix of real production. Before choosing an automatic flat metal sheet deburring machine, list the materials and conditions that actually consume your time:
If your plant handles mixed work, ask for trials on ugly parts, not showroom parts. Especially include thin stainless with film, parts with many holes, and parts that already give your operators trouble.
Watch the corners and the small internal features
Most machines can make long straight edges look acceptable. The real test is corner behavior and inside profiles. This is where sharp remnants, over-rounding, and uneven contact pressure show up. During trials, inspect:
- Outer corners that may stay sharp while straight sections look clean.
- Slots and holes where burrs remain because the abrasive contact is incomplete.
- Small parts that vibrate, tip, or fail to track steadily through the machine.
For safety managers, these missed spots matter more than the average finish. One sharp tab left on a panel can still cause injury even if the rest of the surface looks good.
Do not ignore handling and extraction
Edge quality is only part of the control plan. Dust, spark risk, abrasive wear particles, and sheet handling are part of the same conversation. Ask how the machine manages extraction, how cleaning is done, and what happens when operators feed oily or partially warped sheets. If the machine is difficult to clean, performance will drift. If dust collection is undersized, safety and finish quality can both suffer.
This is also where supplier quality culture shows up. Companies with established manufacturing discipline usually document machine design and production more consistently. Wuxi Samgins International Trade Co.,Ltd, for example, states that production and design are organized in line with ISO9001 quality system certification and EU CE standards. That does not replace your own audit, but for QC teams it is a reasonable starting point when screening suppliers.
Set up inspection points after installation
Once the machine is on the floor, a surprising number of plants rely on visual checks only. That works for obvious burrs, but not for trend control. Build a short first-article and patrol checklist around the actual defect risks:
- Sample edges at corners, straight runs, holes, and slots
- Record the material, thickness, part number, line speed, and abrasive condition
- Flag parts that pass touch inspection but fail fit-up or coating preparation
- Track defect recurrence by material family, not only by shift
If you already run automated welding, you probably know this discipline from another station. In fabrication cells for pressure vessels, pipelines, or steel structures, positioning repeatability matters as much as edge preparation. That is one reason some plants standardize upstream and downstream automation together, combining deburring, fit-up, and systems such as Welding manipulator units where precise motion, safety devices, and predictable cycle behavior reduce variation across the line.
Pay attention to consumables before quality drops
Abrasive belts, brushes, and contact components rarely fail all at once. They fade. The result is dangerous because the line still runs while edge consistency quietly gets worse. QC teams should ask maintenance for a replacement rule based on actual finish behavior, not only operating hours. If one abrasive set lasts very differently on stainless and mild steel, split the maintenance standard by material.
Another detail worth checking: what happens after a consumable change? If the machine needs too much manual adjustment to get back into a stable window, your defect rate will spike every time someone performs maintenance.
Use trial criteria that reflect downstream risk
A successful trial is not just “the burr is gone.” For safety managers, the question is whether operators can handle the part without unexpected sharp points. For quality managers, it is whether the part moves into bending, welding, coating, or assembly without creating a new problem. A part with a nicely softened edge but excessive dimensional loss is not a good result.
Ask for repeat runs, not a single pass demonstration. If possible, include parts from a few different production days. Stable results matter more than the best result.
A short buying checklist that saves time later
- Bring your worst real samples to the trial.
- Confirm the machine can handle your full material and thickness mix.
- Inspect corners, holes, tabs, and small internal contours separately.
- Review extraction, guarding, maintenance access, and cleaning time.
- Define acceptance criteria before installation, not after complaints start.
- Verify documentation and standards claims against current supplier records where needed.
The right automatic flat metal sheet deburring machine reduces injuries, rework, and arguments between departments, but only when it is treated as part of a controlled process. If you define the defect clearly, test the hard parts, and inspect based on downstream use, edge quality becomes much easier to hold. That is usually the difference between a machine that looks good in a demo and one that actually solves the problem on the shop floor.
search
Products Navigation
Send Us A Message