




Common Welding Defects in Automatic Space Frame Systems and How to Fix Them
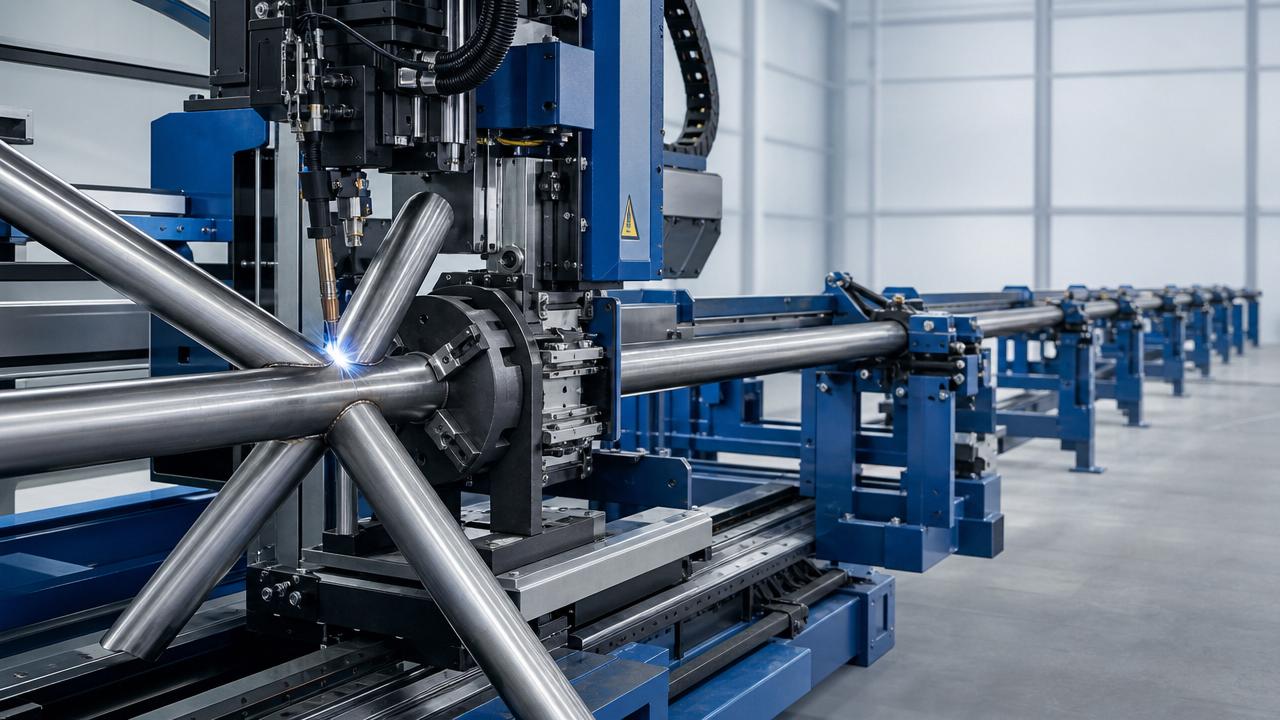
Where should a maintenance team start when weld defects keep showing up on a space frame line?
Start with the defect pattern, not with random parameter changes. In automatic space frame production, repeated porosity, undercut, incomplete fusion, distortion, or cracking usually points to one of four sources: unstable fit-up, contaminated material, drifting welding parameters, or mechanical issues inside the automatic space frame welding machine.
For after-sales maintenance personnel, the fastest path is to separate process faults from equipment faults. Check whether the defect appears on every joint, only certain node positions, or only after long continuous running. If the problem is position-specific, look at torch reach, clamping repeatability, and workpiece geometry. If it gets worse over time, focus on wire feed, cooling, grounding, contact tip wear, cable heating, and gas flow stability. That simple distinction saves hours of unnecessary disassembly.
Why does porosity show up even when the machine seems to be running normally?
Porosity is often the defect that fools people. The arc looks acceptable, travel speed may be close to target, and the bead can still trap gas. In automatic welding, the usual causes are not mysterious: poor shielding, oil or moisture on tubes, rust inside joint areas, or a nozzle that is partially blocked by spatter.
A practical check sequence is:
- Confirm gas flow at the torch, not only at the regulator.
- Inspect nozzle, diffuser, and contact tip for spatter buildup or looseness.
- Look for air drafts around the station, especially near extraction systems or fans.
- Verify base material cleanliness at the actual weld zone.
- Check whether wire has surface contamination or rust from poor storage.
If pores are fine and evenly scattered, shielding gas loss is likely. If they are larger and more localized, contamination or trapped moisture is more common. Maintenance teams often replace gas parts first, but if the fit-up leaves a cavity where moisture or cutting residue sits, the problem comes back immediately. The machine can only weld what it is given.
What usually causes incomplete fusion on automatic space frame joints?
Incomplete fusion usually means the arc is not properly tying the weld metal into the base material or previous pass. On a space frame system, this happens often at saddle joints, angled intersections, and places where actual gap differs from programmed assumptions.
Three things deserve attention:
- Heat input is too low for the joint mass or wall thickness.
- Torch angle or stand-off is wrong because the fixture or tracking position has drifted.
- Travel speed is too high through transition areas where the joint opens or changes shape.
In field service, it is worth comparing programmed path data with the actual torch position at several clock points around the tube. A machine can pass a dry run and still miss fusion once arc length changes under load. If fusion loss appears on one side of the node only, suspect mechanical alignment before touching the power source settings.
How can you tell whether undercut is a parameter issue or a torch path issue?
Undercut leaves a groove at the weld toe, and in space frame structures that is more than a cosmetic problem. It can become a fatigue starting point. When the undercut is continuous around the bead, excessive voltage, long arc, or travel speed is often involved. When it appears only at turns, starts, stops, or one edge of the joint, torch path and angle are stronger suspects.
That distinction matters because many teams keep lowering heat when the real issue is positional error. The result is less undercut but more lack of fusion.
Why do cracks appear after the weld looks acceptable at first inspection?
Delayed cracking is usually tied to residual stress, restraint, poor joint preparation, or material condition. A weld that looks sound right after production can still crack later if the joint is highly constrained and cooling is uneven. Space frame components are especially sensitive where multiple members meet and heat is concentrated in a tight area.
If cracks appear near the toe or crater, check weld termination settings and sequence first. If they run through the weld or heat-affected zone, look at material mismatch, excessive rigidity in clamping, and whether the welding sequence is forcing shrinkage into one direction. This is also where maintenance teams should review whether upstream cutting accuracy has changed. Poorly prepared joints increase restraint and make cracking more likely even if welding parameters are unchanged.
Can distortion be reduced without slowing the whole line?
Usually yes, but not by one adjustment alone. Distortion in an Automatic space frame welding machine setup is often blamed on heat input, while the real driver is uneven heat distribution combined with fixture release timing. If one side of the frame is fully restrained and the opposite side is free to move, the part will pull even with moderate settings.
The most effective fixes are operational:
- Balance the weld sequence around the node instead of finishing one area completely before moving.
- Confirm clamps are holding the part where shrinkage actually occurs, not just where loading is convenient.
- Review tack quality and tack location. Weak or badly placed tacks make the automatic cycle harder to stabilize.
- Check whether travel speed reductions at corners are excessive, creating localized overheating.
If a line suddenly starts producing warped parts, verify fixture wear and locating pin condition before rewriting the program. Mechanical wear changes repeatability long before it becomes obvious to operators.
Which machine components should be checked first during defect troubleshooting?
Go after the consumables and motion references first. They fail more often than the power source itself and they directly affect weld consistency.
- Contact tip wear and tip-to-wire fit
- Nozzle spatter accumulation
- Wire feeder drive roll pressure and liner condition
- Ground return integrity
- Torch neck deformation after collisions
- TCP calibration and axis backlash
- Fixture locating surfaces and clamp cylinders
This is where experienced maintenance teams save time. If arc sound changes, start at wire delivery and grounding. If bead location shifts while arc behavior stays stable, go to motion and fixturing. Mixing those two paths leads to a lot of unnecessary parts replacement.
When should you suspect the upstream process instead of the welding cell?
Suspect upstream processes when defects appear after a material batch change, after cutting tool replacement, or only on certain tube sizes and joint geometries. A welding cell cannot compensate forever for poor end cuts, excessive burrs, oval tubes, or surface contamination carried from storage and handling.
In plants that also process fastening parts or threaded components, maintenance teams often already understand the value of stable pre-processing. The same thinking applies here. For example, operations using a Z28-250 thread rolling machine rely on controlled feed, tooling condition, and clean material contact to keep dimensional quality stable. Automatic welding behaves the same way: once the incoming geometry drifts, downstream consistency drops fast.
What records actually help prevent repeat failures?
The useful records are the ones that connect a defect to a condition change. A maintenance log that only says “adjusted settings” is almost worthless six weeks later. What helps is a short, disciplined record of joint type, material specification, visible defect, machine running hours, consumable status, gas source, fixture used, and the exact parameter or component change made.
If you track just three recurring signals, make them these: defect location, shift timing, and whether the issue follows a particular fixture or torch assembly. Those three clues usually narrow the root cause much faster than broad defect categories alone.
What is the most common mistake after a defect is found?
Changing multiple variables at once. It feels efficient, but it destroys the trail. If voltage, wire feed, gas flow, torch angle, and clamp pressure are all changed together, nobody knows which correction actually worked. On automated lines, that confusion returns on the next production run.
A better rule is simple: confirm the defect visually, isolate whether it is process, motion, or fit-up related, then change one high-probability variable and run a controlled test piece. If the bead improves but does not fully recover, keep the change and move to the next likely cause. That method is slower for ten minutes and faster for the rest of the week.
What is a practical rule for deciding whether to repair, rework, or stop the line?
If the defect affects joint integrity, repeats across multiple parts, or traces back to machine drift rather than a one-off contamination event, stop and diagnose before more parts accumulate. If the defect is isolated and the cause is clear, controlled rework may be reasonable. The key is not the appearance alone, but whether the same conditions are still present in the cell.
For after-sales maintenance teams, the strongest habit is to read the defect as a system signal. Porosity points one way, fusion loss another, distortion another. Once you connect the weld symptom to joint condition, torch behavior, and fixture repeatability, an Automatic space frame welding machine becomes much easier to stabilize and much harder to blame for problems it did not create.
search
Products Navigation
Send Us A Message