




Automatic Bending Machine Setup Guide for Faster Changeovers and Stable Angles
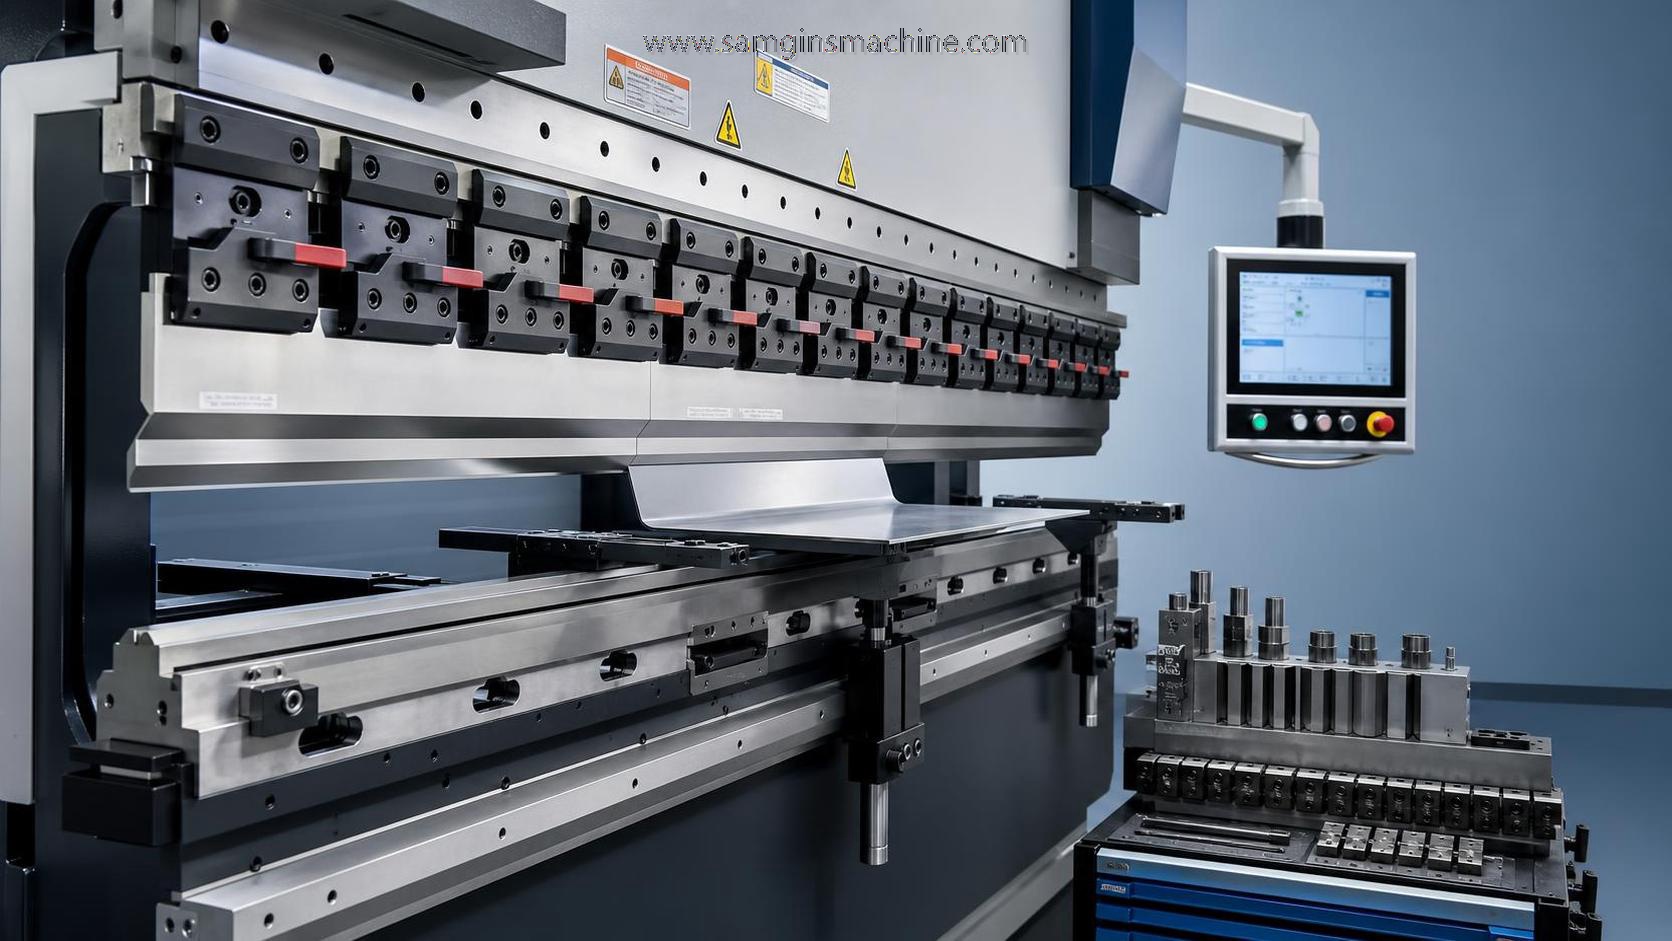
Automatic Bending Machine Setup Guide for Faster Changeovers and Stable Angles
Efficient setup is the key to getting more from an Automatic Bending machine, especially when operators need faster changeovers and consistent bending angles.
In this guide, you will learn practical setup steps, common adjustment points, and proven tips to reduce downtime, improve repeatability, and keep production stable.
The focus is simple: shorten setup time, avoid angle drift, and keep sheet metal processing predictable across different jobs and material batches.
Why Automatic Bending Machine Setup Matters
A fast setup does more than save minutes.
It reduces scrap, prevents rework, and keeps the next process on schedule.
In real production, unstable bending angles usually start with small setup errors.
These errors often come from wrong tooling selection, poor backgauge calibration, or inconsistent material data.
That is why every Automatic Bending machine should follow a repeatable setup routine instead of relying on operator memory alone.
Start with the Right Pre-Setup Checks
Before touching tooling or parameters, check the machine condition.
A rushed start often creates longer delays later.
Basic items to confirm
- Hydraulic pressure is stable and within the required range.
- Electrical connections, sensors, and safety devices respond normally.
- The worktable, die seat, and ram contact surfaces are clean.
- Backgauge fingers are straight and free from looseness.
- Material grade, thickness, and grain direction match the job file.
If any of these points are skipped, the Automatic Bending machine may still run, but angle stability will usually suffer.
A clean and verified machine also makes changeovers easier because the next setup starts from a known condition.
Choose Tooling for Fast Changeovers
Tooling selection has a direct impact on setup time.
It also affects bend angle, flange quality, and part repeatability.
How to select tooling wisely
- Match punch radius to material type and final bend requirement.
- Use the correct die opening for sheet thickness and tonnage limits.
- Prefer standardized segmented tooling for mixed-part production.
- Label commonly used tool sets for repeat jobs.
Segmented tools are especially useful when an Automatic Bending machine handles small batches and frequent product changes.
They reduce lifting effort, shorten installation time, and help maintain accurate positioning across the full bending length.
Set Material Data Before the First Test Bend
Stable angles begin with correct input data.
This step is often underestimated when deadlines are tight.
For any Automatic Bending machine, enter material thickness, tensile characteristics, bend length, tooling type, and target angle accurately.
Do not assume that two sheets with the same nominal thickness will bend the same way.
Material springback can change between suppliers, batches, and surface conditions, which means compensation values may also need adjustment.
Useful data habits
- Store proven programs by material and thickness.
- Record springback corrections after approval.
- Mark rejected settings to avoid repeat mistakes.
- Update part libraries after process changes.
Calibrate the Backgauge for Repeatability
Many angle and dimension errors are linked to backgauge setup.
Even a small offset can shift the bend line and affect the final part.
Check finger parallelism, zero reference, and movement smoothness before production starts.
When the Automatic Bending machine uses CNC positioning, verify actual travel against the programmed value using a sample strip.
This quick check can prevent a full batch of dimensionally incorrect parts.
Backgauge checkpoints
- Finger faces contact the workpiece evenly.
- Lateral position fits the part width.
- Stop position repeats without vibration.
- Clamps and guides remain rigid during movement.
Run a Smart First-Piece Approval Process
The first-piece check should be fast, but never casual.
A disciplined first bend saves time for the next hundred bends.
Measure angle, flange length, bend position, and surface condition immediately after the first sample is formed.
Then adjust only one variable at a time.
This makes the cause of deviation easier to identify and prevents overcorrection.
Recommended first-piece sequence
- Bend one trial part with standard speed.
- Measure the actual angle with a calibrated gauge.
- Check flange dimensions against the drawing.
- Adjust depth or compensation value if needed.
- Repeat once and lock the approved program.
Keep Angles Stable During Long Production Runs
A stable setup at the start does not guarantee stable output all day.
Heat, material variation, and tool wear can slowly change results.
For that reason, the Automatic Bending machine should be monitored at planned intervals during the run.
Simple in-process controls
- Recheck angle every defined batch quantity.
- Watch for surface marks caused by dirty tooling.
- Confirm material lot consistency when coils or stacks change.
- Listen for unusual hydraulic or mechanical noise.
This routine matters even more in industries such as automobiles, construction, electrical appliances, and shipbuilding.
Those sectors often require repeatable parts across large batches and tight downstream assembly tolerances.
Reduce Changeover Time with Process Standardization
Faster changeovers usually come from better organization, not just faster hands.
A standardized setup method helps every shift produce similar results.
Practical standardization methods
- Create setup sheets for recurring parts.
- Keep tooling arranged by profile and size.
- Use fixed naming rules for CNC programs.
- Prepare material and drawings before the previous job ends.
- Train all shifts on the same adjustment sequence.
In many workshops, supporting equipment also affects bending efficiency.
For example, clean and accurate blank preparation reduces variation before bending begins.
That is where equipment like the Hydraulic guillotine shear can support the line by delivering straight, consistent cut pieces for follow-up forming.
Common Causes of Unstable Angles
When the Automatic Bending machine starts producing inconsistent angles, look for patterns before making broad adjustments.
Frequent root causes
- Incorrect die opening for the actual sheet thickness.
- Material hardness variation between lots.
- Backgauge misalignment or loose components.
- Tool wear, edge damage, or contamination.
- Unstable hydraulic response or ram parallelism issues.
- Operator changes made without recording the reason.
A structured troubleshooting log makes recurring problems much easier to solve.
It also helps separate machine faults from material-related variation.
Build a More Reliable Sheet Metal Workflow
Bending performance improves when the full process is aligned.
Cutting, deburring, handling, and bending should support one another.
In metal processing, a poor edge condition or inaccurate blank size often shows up later as unstable forming results.
This is one reason integrated production lines are becoming more common.
Wuxi Samgins International Trade Co.,Ltd supplies a wide range of machinery for fabrication workflows, including bending, cutting, welding, milling, rolling, leveling, and CNC equipment.
With manufacturing experience, ISO9001-based management, and EU CE-oriented standards, the company supports users who need dependable equipment performance.
In related cutting stages, the same focus on consistency can be seen in solutions such as a hydraulic shear with automatic parameter adjustment, program storage, laser alignment, and safety interlock protection.
Final Setup Habits That Deliver Better Results
The best Automatic Bending machine results come from repeatable habits, not rushed corrections.
Check machine condition, confirm tooling, verify material data, calibrate the backgauge, and approve the first piece carefully.
Then keep monitoring during production instead of waiting for visible defects.
That approach shortens changeovers, keeps bending angles stable, and protects delivery performance.
When setup becomes a disciplined process, the Automatic Bending machine turns into a more predictable and profitable part of the workshop.
search
Products Navigation
Send Us A Message