




Common Forming Challenges in Small Diameter Tube Bending and How to Reduce Them
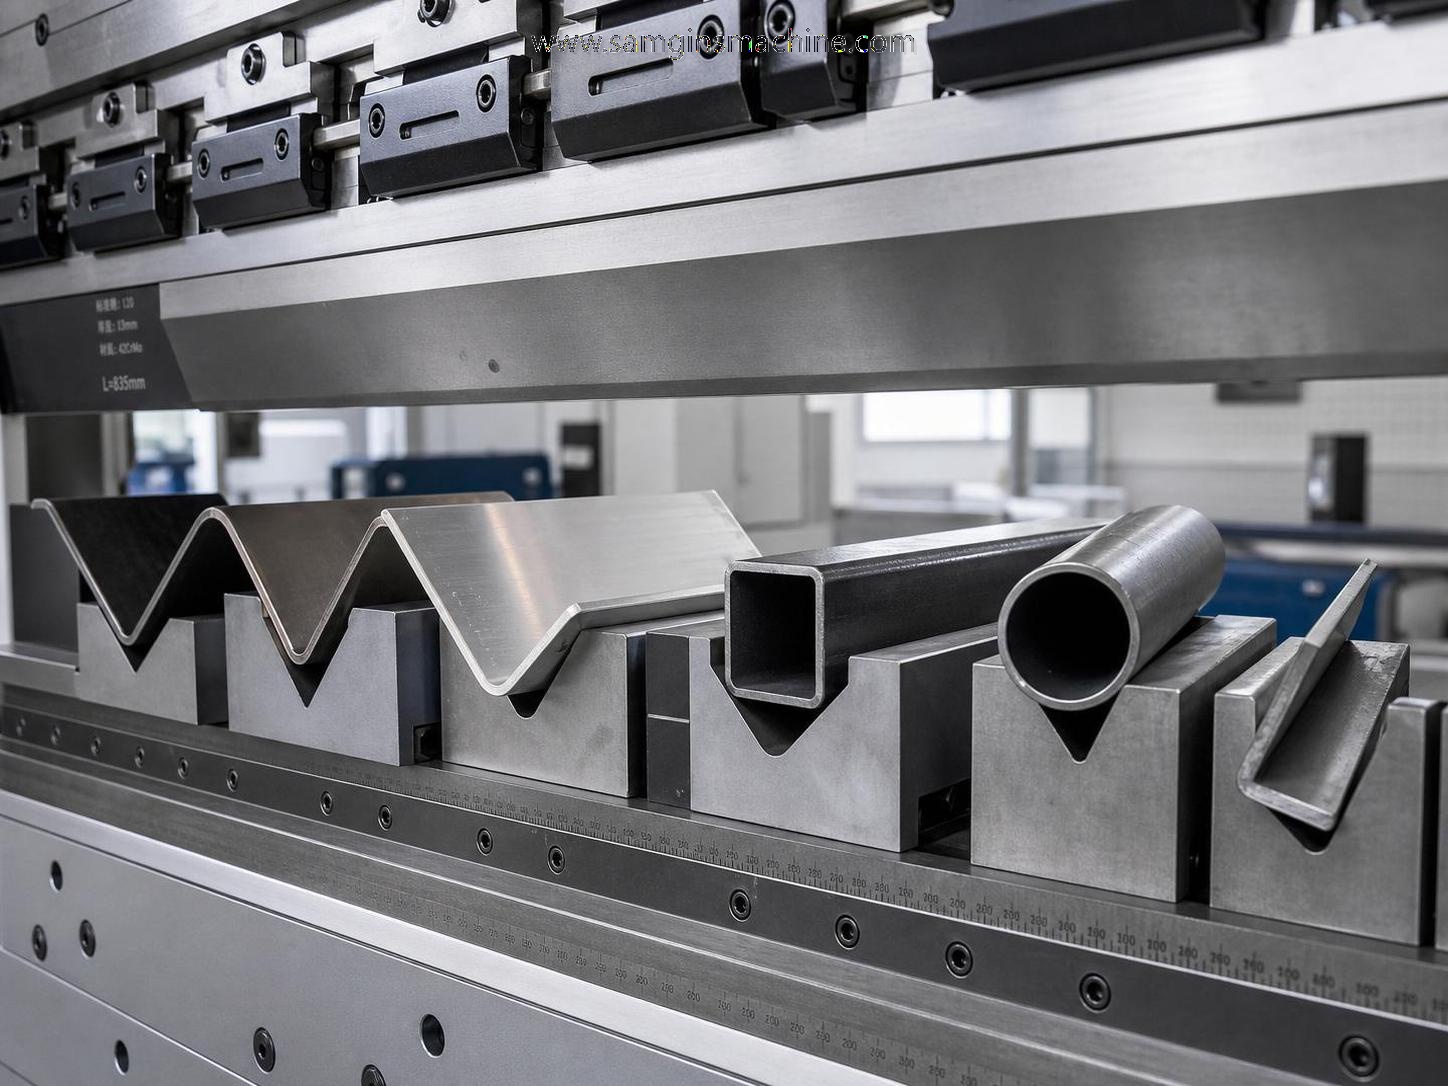
In small diameter tube work, the problems usually show up fast: a bend flattens, the inside wall wrinkles, the angle opens after release, or the surface comes out marked badly enough to fail the next step. Operators know this already. What matters is having a practical way to catch the cause before scrap starts piling up. If you run a small diameter tube bending machine day after day, the best results usually come from treating bending as a full setup process, not a single machine action.
The checklist below follows the order most shops end up learning the hard way: material first, tooling second, machine settings third, then handling and follow-up checks. That sequence saves time because many “machine problems” actually begin with tube variation, poor support, or a worn contact surface.
Start with the tube, not the program
Before changing pressure settings or bend speed, check what is going into the machine. Small diameter tubes react sharply to wall thickness variation, out-of-roundness, seam position, hardness changes between batches, and surface condition. Two tubes with the same outside diameter on paper can behave very differently at the bend.
- Measure outside diameter and wall thickness at several points, not just one end.
- Check whether the tube is already oval before bending.
- Identify the weld seam if the material is welded tube. Seam orientation can change how the inner wall compresses and how the outer wall stretches.
- Look for rust, scale, oil residue, or embedded dirt that can increase marking and slipping.
If the raw tube surface is inconsistent, the bend quality will usually be inconsistent too. In shops that process steel sections and tubes together, upstream cleaning often affects bending more than people expect. A cleaned, uniform surface feeds more predictably and is less likely to damage wiper or clamp contact points. Where heavy rust or scale is part of the workflow on steel components, equipment such as a Shot blasting machine may be used in broader fabrication lines to remove scale and improve surface consistency before later finishing operations, although tube bending still has to be matched to the actual tube condition in front of the operator.
Check the bend radius against the tube’s real forming limit
A lot of trouble starts when the requested centerline radius is too tight for the diameter, wall thickness, and material condition. Operators often see wrinkling or flattening and respond by pushing harder with pressure dies or slowing the machine. Sometimes that helps a little. Sometimes it only hides that the bend itself is too aggressive.
The practical question is simple: does this tube have enough wall support for this radius? Thin-wall stainless tube, soft aluminum, and small carbon steel tube each fail differently, but the warning signs are similar. If you see the cross section collapsing early in the bend, or the inside wall folds before the target angle, stop treating it as a fine-tuning issue. Recheck tooling fit, mandrel use, and whether the bend radius is realistic for that wall.
Tooling fit decides more than machine size
A capable small diameter tube bending machine cannot compensate for loose or mismatched tooling. With small tubes, even minor clearance errors show up immediately. The bend die groove, clamp die, pressure die, mandrel, and wiper all need to match the tube closely enough to support it without bruising it.
What operators should check:
- Does the tube sit fully in the bend die groove, or is it rocking?
- Is the clamp die holding securely without crushing the surface?
- Is the pressure die face smooth, aligned, and free from pickup?
- If using a mandrel, is the ball count and nose position suited to the bend severity?
- If using a wiper die, is its edge sharp enough and correctly set to the tangent point?
A worn pressure die often gets blamed for random marking, but it can also contribute to shape loss because the tube is no longer guided steadily through the bend. The same goes for a wiper die that has rounded off slightly. On small-diameter jobs, “slightly worn” is often already too worn.
Wrinkling on the inside wall: fix support before force
Inside wall wrinkles form when compressive forces have nowhere controlled to go. This is one of the most common failures on thin-wall tube and tight-radius work. Operators usually notice the first fold near the tangent and then try to “hold it down” by increasing clamping. That can make the surface worse without stopping the wrinkle pattern.
Better checks are more specific:
- Move the mandrel slightly forward if the inner wall is unsupported at bend entry.
- Confirm the wiper die is contacting correctly at the tangent line.
- Reduce bend speed if the material is buckling before it flows cleanly.
- Review lubrication. Too little increases drag; the tube stops moving smoothly and compression builds up.
If wrinkles only appear on one side, stop assuming it is a general setup issue. That pattern often points to seam orientation, off-center tooling, or pre-existing ovality.
Flattening means the section is losing support
Some flattening is expected in many bends, but excessive flattening is usually a support problem. The tube is being pulled and compressed through the bend without enough internal or external control. This gets worse as diameter gets smaller and wall gets thinner.
Measure the finished section instead of judging by eye alone. For production control, operators should compare the major and minor axes of the bent section against the job requirement or drawing tolerance used in their own shop. If no tolerance has been set internally, that is the first gap to close. Without a pass/fail dimension, the team ends up debating appearance instead of checking geometry.
When flattening appears, inspect die fit, pressure die feed, and mandrel support together. Treating only one of them rarely solves the whole problem.
Springback needs controlled compensation, not guesswork
Springback frustrates operators because the bend looks fine in process and then opens after release. Material grade, hardness, wall thickness, and bend radius all influence it. So does consistency from batch to batch. This is why one saved program may not run perfectly on the next delivery of tube.
The reliable approach is to lock down one variable at a time. Keep tooling, lubrication, and speed stable. Run a sample, measure the released angle, adjust overbend, then repeat. If you change bend speed, clamp pressure, and compensation together, you learn nothing useful from the result. Shops that run many short batches often lose more time in uncontrolled troubleshooting than they would by making a small test routine part of setup.
Surface damage is usually a handling issue somewhere in the chain
Marks on small tubes are not always created at the exact point where they become visible. They may come from dirty tooling, rough stock racks, feed guides, excessive clamp pressure, or chips left from a previous job. If the tube is decorative, coated later, or used in visible assemblies, these marks become expensive very quickly.
Check the full contact path. Wipe the dies. Inspect guide surfaces. Look for embedded particles. Confirm lubricant is appropriate for the material and not attracting debris. For mixed fabrication shops, surface preparation equipment elsewhere on the floor also affects later handling quality. For example, a roller type Shot blasting machine with dust collection and adjustable impact force belongs to steel surface treatment rather than tube bending itself, but the broader lesson still applies: cleaner contact surfaces and controlled debris make downstream forming more predictable.
Watch the machine condition during repeat jobs
When a setup ran well last month and now drifts, operators often jump straight to program edits. Check machine condition first. On repeat production, look for play in moving assemblies, inconsistent pressure response, misalignment in tool mounting, and wear in guides or support elements. Small-diameter work amplifies these issues. A little looseness that goes unnoticed on heavier tube can ruin a thin, tight-radius part.
This is also where maintenance discipline matters. Keep records of which tooling set was used, how many parts it has run, what lubricant was used, and what compensation was needed for the last successful batch. That turns troubleshooting from memory-based debate into a shorter, evidence-based check.
Use a short setup routine before full production
A simple pre-run routine saves material:
- Verify tube size, wall, and batch condition.
- Inspect bend die, clamp die, pressure die, mandrel, and wiper.
- Set lubrication and confirm clean contact surfaces.
- Run one sample at controlled speed.
- Measure angle, ovality, and surface condition.
- Adjust one variable only, then run the next sample.
That is the practical order most operators can use without slowing the line more than necessary. If a problem appears, identify whether it is material, support, motion, or surface related before touching every setting on the machine. On small diameter tube bending, stable quality usually comes from controlled setup decisions, not operator improvisation in the middle of production.
search
Products Navigation
Send Us A Message